This Project was super easy, We didn't have the Cinder Blocks but they were only 2 bucks a piece, I used paint I had that didn't work out for another project, and the wood was just small rail road tie like pieces that my husband salvaged from a work site, the back is a pallet also salvaged, so the main expense was the the cushion. The pillows I made buy sewing couch fabric samples together and stuffing with plasic bags.
We started by painting the cinder blocks
I had helpers...
And a pro photographer!
All done with that, now I let it dry and put the wood in the three slats in the second row
Add some cushions a pallet for the back and a cutie!
I changed out the cushions for the one in the top picture to match my colors better but I had to put this pic up because that boy is cute!!!
So I found some moss in some three hanging planters in the forest at my friends place... He was kind enough to give them to me although I have to be honest I must have seemed a little crazy to be so excited about the gift of free moss. But now look at this beaut! First I transplanted the moss in this lovely little strainer with garden pictures on the base. Then I needed to go to Hobby Lobby to get my fairyrific stuff!
I bought the fake watches, stamps, cards, little bird house, little flower pots and lantern, and butterflies and the rest I had on hand. The kids had just broke that ruler so yay, more fun for me!
A little Modge Podge...
A Little More Modge Podge...
And Here she is!
Next I started Tinkering (A little Tinkerbell Pun for you since it is a fairy garden)
I made a table and chairs out of push pins and bottle caps and a fake watch and half a wine cork.
I made a little plant table out of a push pin and a penny and some swirly things to make a statement at the gate. I added a butterfly and two little hen and chicks... And here is our new Fairy habitat! I spent less than $20 dollars and have more supplies for the next one! Oh and their will be a next one! This is too much fun!!!
We had to redo it because Emerson decided to dump it on the floor! so the next time I added the rock path!
(The little chalk board with the paper clip was in the party section for only 1.99 for a pack of three)
The Fort! Christmas 2013 we had the idea to build a fort for the kids out of the closet under the stairs
From This To This
Yes this crazy small little space was the idea but then Cameron took it to a whole other place!!!
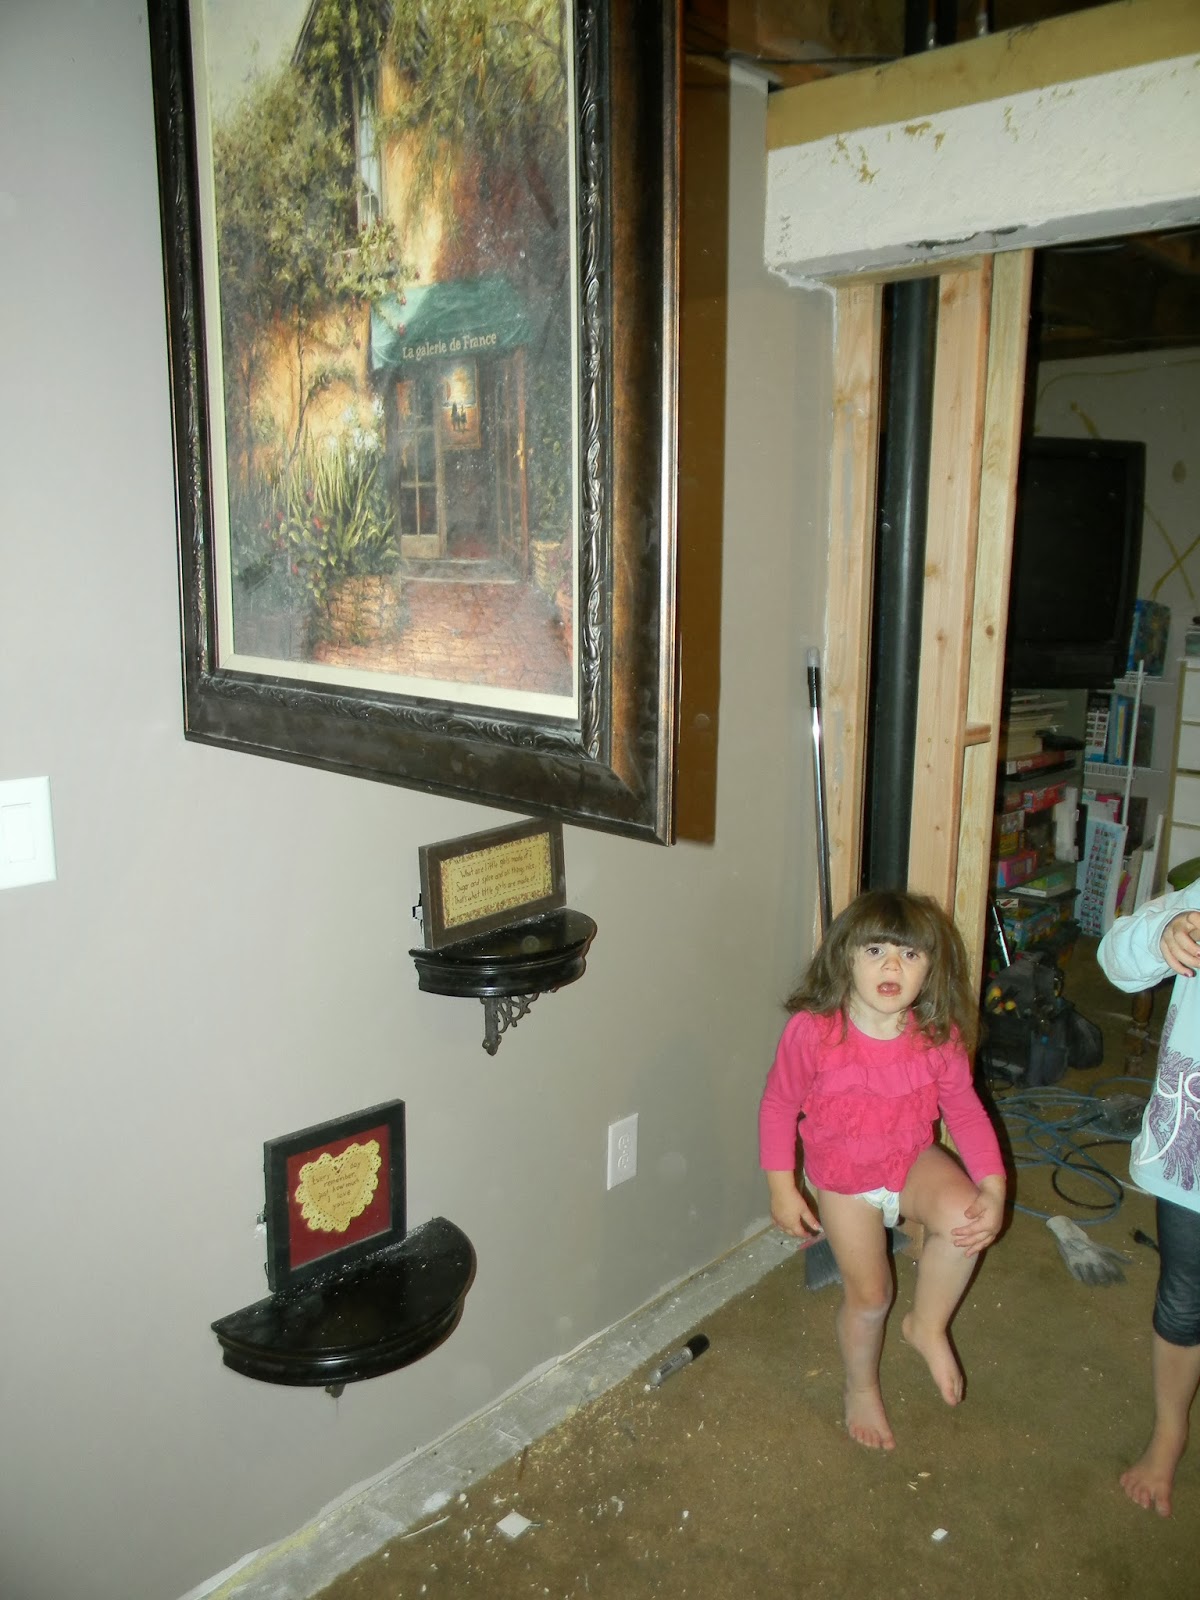
He knocked out the wall and brought it out about three more feet...
... But it still wasn't big enough for Cameron so he cut into the closet in the bathroom (seen down below....
Now we are getting somewhere... but then we thought to ourselves what about under the stairs?
And to our very happy surprise there was a great little space under there! Now we have the demo done, it's time to frame...
The idea is that the new wall being flush with the doorway will seem like it just flows...
And time to do some flooring... We will lay hardwood down later but for now we just laid the subfloor...
So look at the frame work... I wanted three secret openings, one for mail, one for a spy glass and one for a secret door to the loft. Oh next I show you how I made the sign for the pirate cave!!
1.Painted wood brown
2. I used wood letters and some pirate decor from Hobby lobby and some Christmas LED lights.
3. I drilled holes in the part I had painted KEEP in, and stuck the lights in. Then glued the other stuff to it.
Oh back to the progress on the wall...
And the loft! I found a carpet remanant at Lowes for 20 bucks!
The loft looks so good!!!
Even Emerson loves to check it out!
We painted and decorated!
Below the loft added a little sea worthy decor
And my sign above the entry to the pirate cave!!!
Cam put up the hammock... this is where the bathroom closet was before he knocked out that little space...
I had bought climbing holds and a rope ladder for getting up to the loft....
And hand holds for the secret entrance....
Here is the picture that hides the entrance!
And a few other ones that hide the other secret doors!
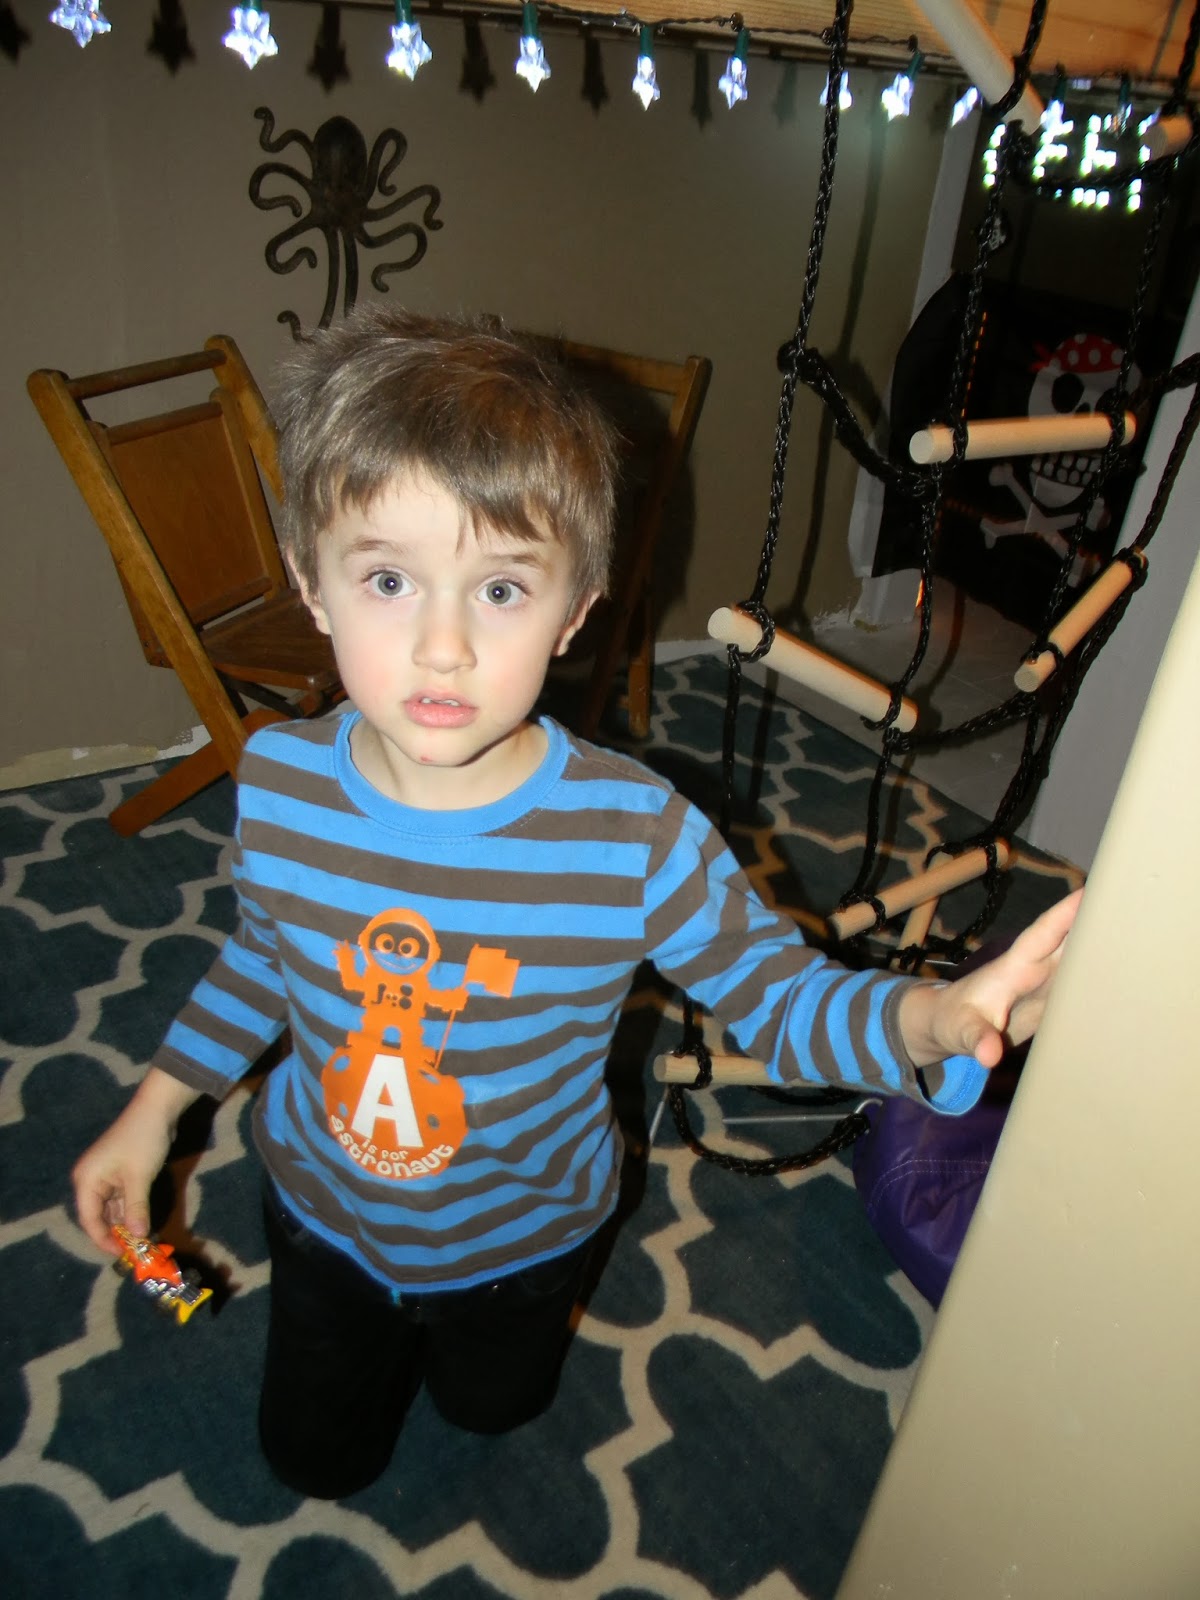
The kids were a little excited~
The spy glass!!!
The Hammock!
The kids Love it and now they have a place to play!
This video is a little behind the scenes on the fort and a tour under the stairs into the pirate cave.


